
How to upgrade pirated / non- genuine windows 7 to windows 10
Hello friends, welcome to our informative blog Quewap. As we all know that even today there are many people who use pirated or non-genuine Windows. But as you all know that many versions of Windows have arrived. In today's race we do not want to be behind anyone. Therefore, as soon as any new technology and features come, we also want to use them. So today I am writing this article for those people who want to upgrade their pirated windows. In this post, we will give you the complete details of how to upgrade and install Windows on your PC. This method will prove to be very useful for genuine and non-generic Windows users.
Before upgrading Windows 7 to Windows 10, we have to take care of some things. First of all, you have to check that your Windows is active. If not, first you have to activate it. Before Windows upgrade, you have to make a backup of all your data. Whatever important data is on your desktop, such as files and folders, save it to the local disk. Because when the window is installed, your data will be deleted, which will also be in the desktop and local disk c. If you do not want to delete your data, then follow the steps given below. This will install your Windows and your data will also be saved. The most important thing is to check the requirement for Windows 10 before installing it.
System requirements to install windows 10
This is the basic requirements for Windows 10. If these requirements do not match your system then you will not be able to have a great experience of Windows 10.
Ram: Minimum 1 GB for 32-bit and 2 GB for 4-bit.
Display Size: 800 x 600
Processor Speed: 1 GHz or More
Hard Drive: Minimum 250 GB
How to upgrade windows 7 to windows 10
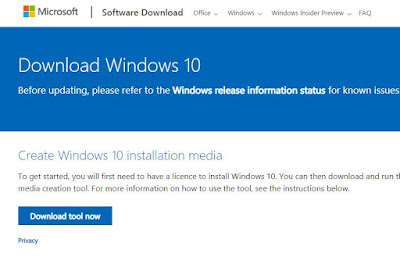
To upgrade Windows, you will need to download the Create Windows 10 installation media tool. By these method you also upgrade windows 8 to windows 10.
Step 1. As soon as you have downloaded the tool, open it. In the dialog box will open in front of you, you will have to click on yes.
Step 2. Now Windows 10 setup open and show getting a few things to ready.
Step 3. Now the license terms and agreements page will open in front of you. You have to click on Accept.
Step 4. After that you will have two options as to which method you want to upgrade.
- Upgrade pc now
- Create installation media (DVD, USB flash drive and file it)
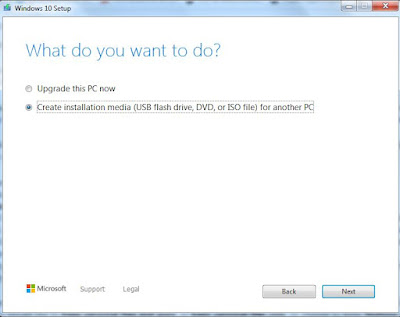
It is your choice which method you want to upgrade. But to do any method, you must have minimum 6 GB high speed internet data and space in your system.
Method 1: Upgrade PC Now
Step 1: If you want to install your window in this system, select Upgrade PC Now and click on Next.
Step 2: Now your Windows 10 will start downloading. After waiting for a while, you have to accept the license terms and conditions dialog box. Wait for a while after that, now Windows is ready to be installed.
Step 3: If you want to save your personal data, then select Keeps Personal Files and Apps. Then click on the Next button.
Step 4: Now your Windows is being installed. You will have to wait for some time, during which your PC will restart several times.
Note: Do not shut down your PC after Windows installation starts.
Step 5: Customize the privacy setting for your device and then click on Accept.
Congratulations your Windows 7 has been upgraded to Windows 10.
Method 2: Create installation media (DVD, Iso disc, and USB flash drive) for another computer.
Before start this method, you have to need blank DVD and 4GB pen drive.
Step 1: You have to insert pendrive in system before select create installation media.
Step 2: Select the language and your system type 32-bit and 64-bit. Then click to next.
Step 3: Now select which media to use
- USB flash drive
- ISO file
Step 4: Select USB flash drive then click to next. Now your windows 10 download, wait for a while.
Step 5: Now your flash drive is ready then click finish.
Step 6: Now restart the PC and press F12 key again and again. Now Boot Manager Open. Now select USB flash drive then press enter.

Step 7: Now Windows is start loading. Select language and click to install. Now enter your Windows product key, if you don't have then click skip button.
Step 8: Select the partition in which you want to install. Then click next and your windows is start to installing.
Step 9: Now ask product key again then select Do it letter and click next. Now choice is yours, you select to use express setting or custom setting.
Step 10: Now create your PC name and if you want to set password then enter it. Wait a little, your window is installed in your PC.